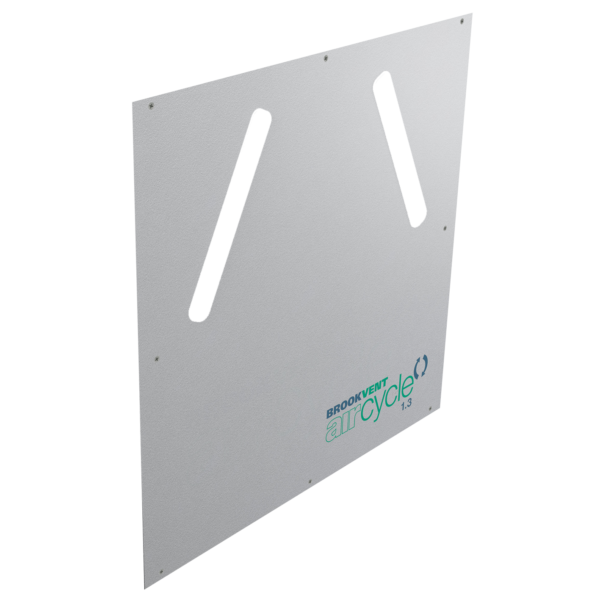
Brookvent Aircycle 3.1/4.1 Front Panel Kit
Product Code: AS 90-09-810
Please indicate in the order notes which version you need (e.g. 3.1 or 4.1)
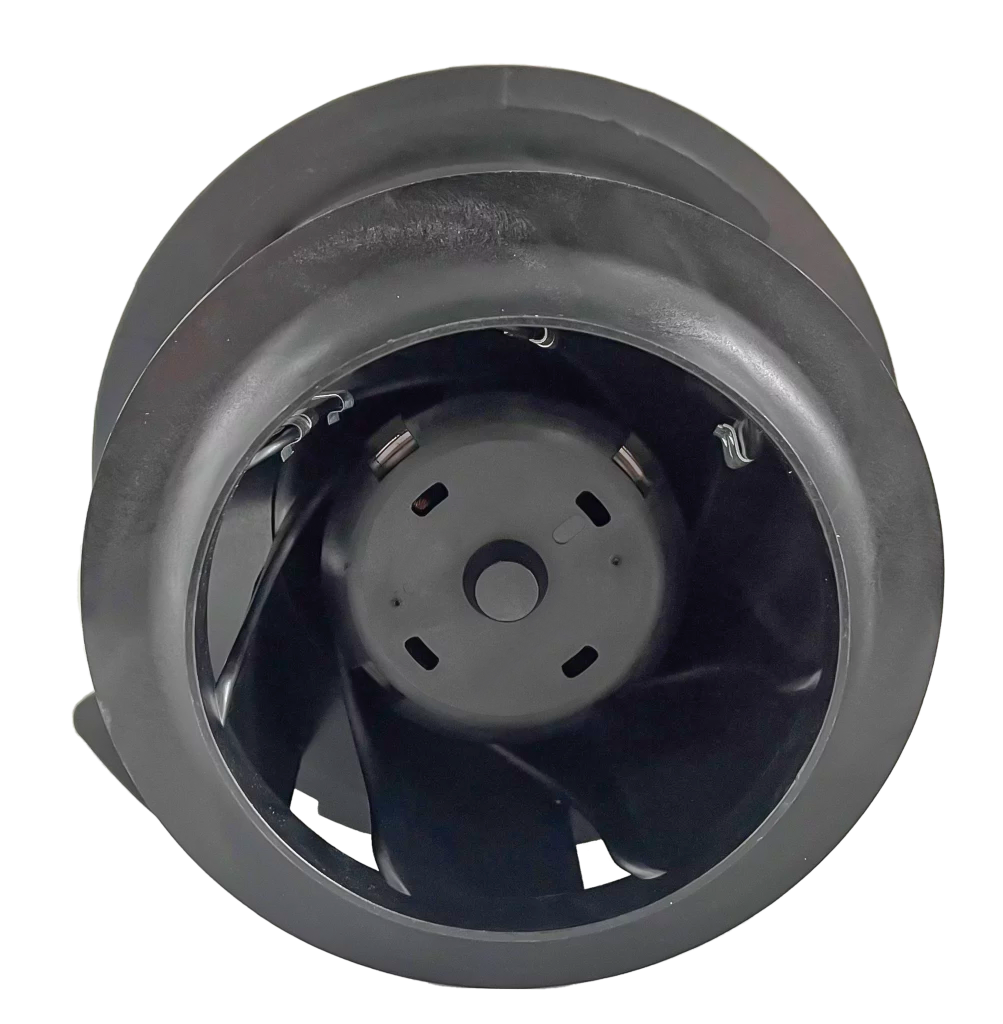
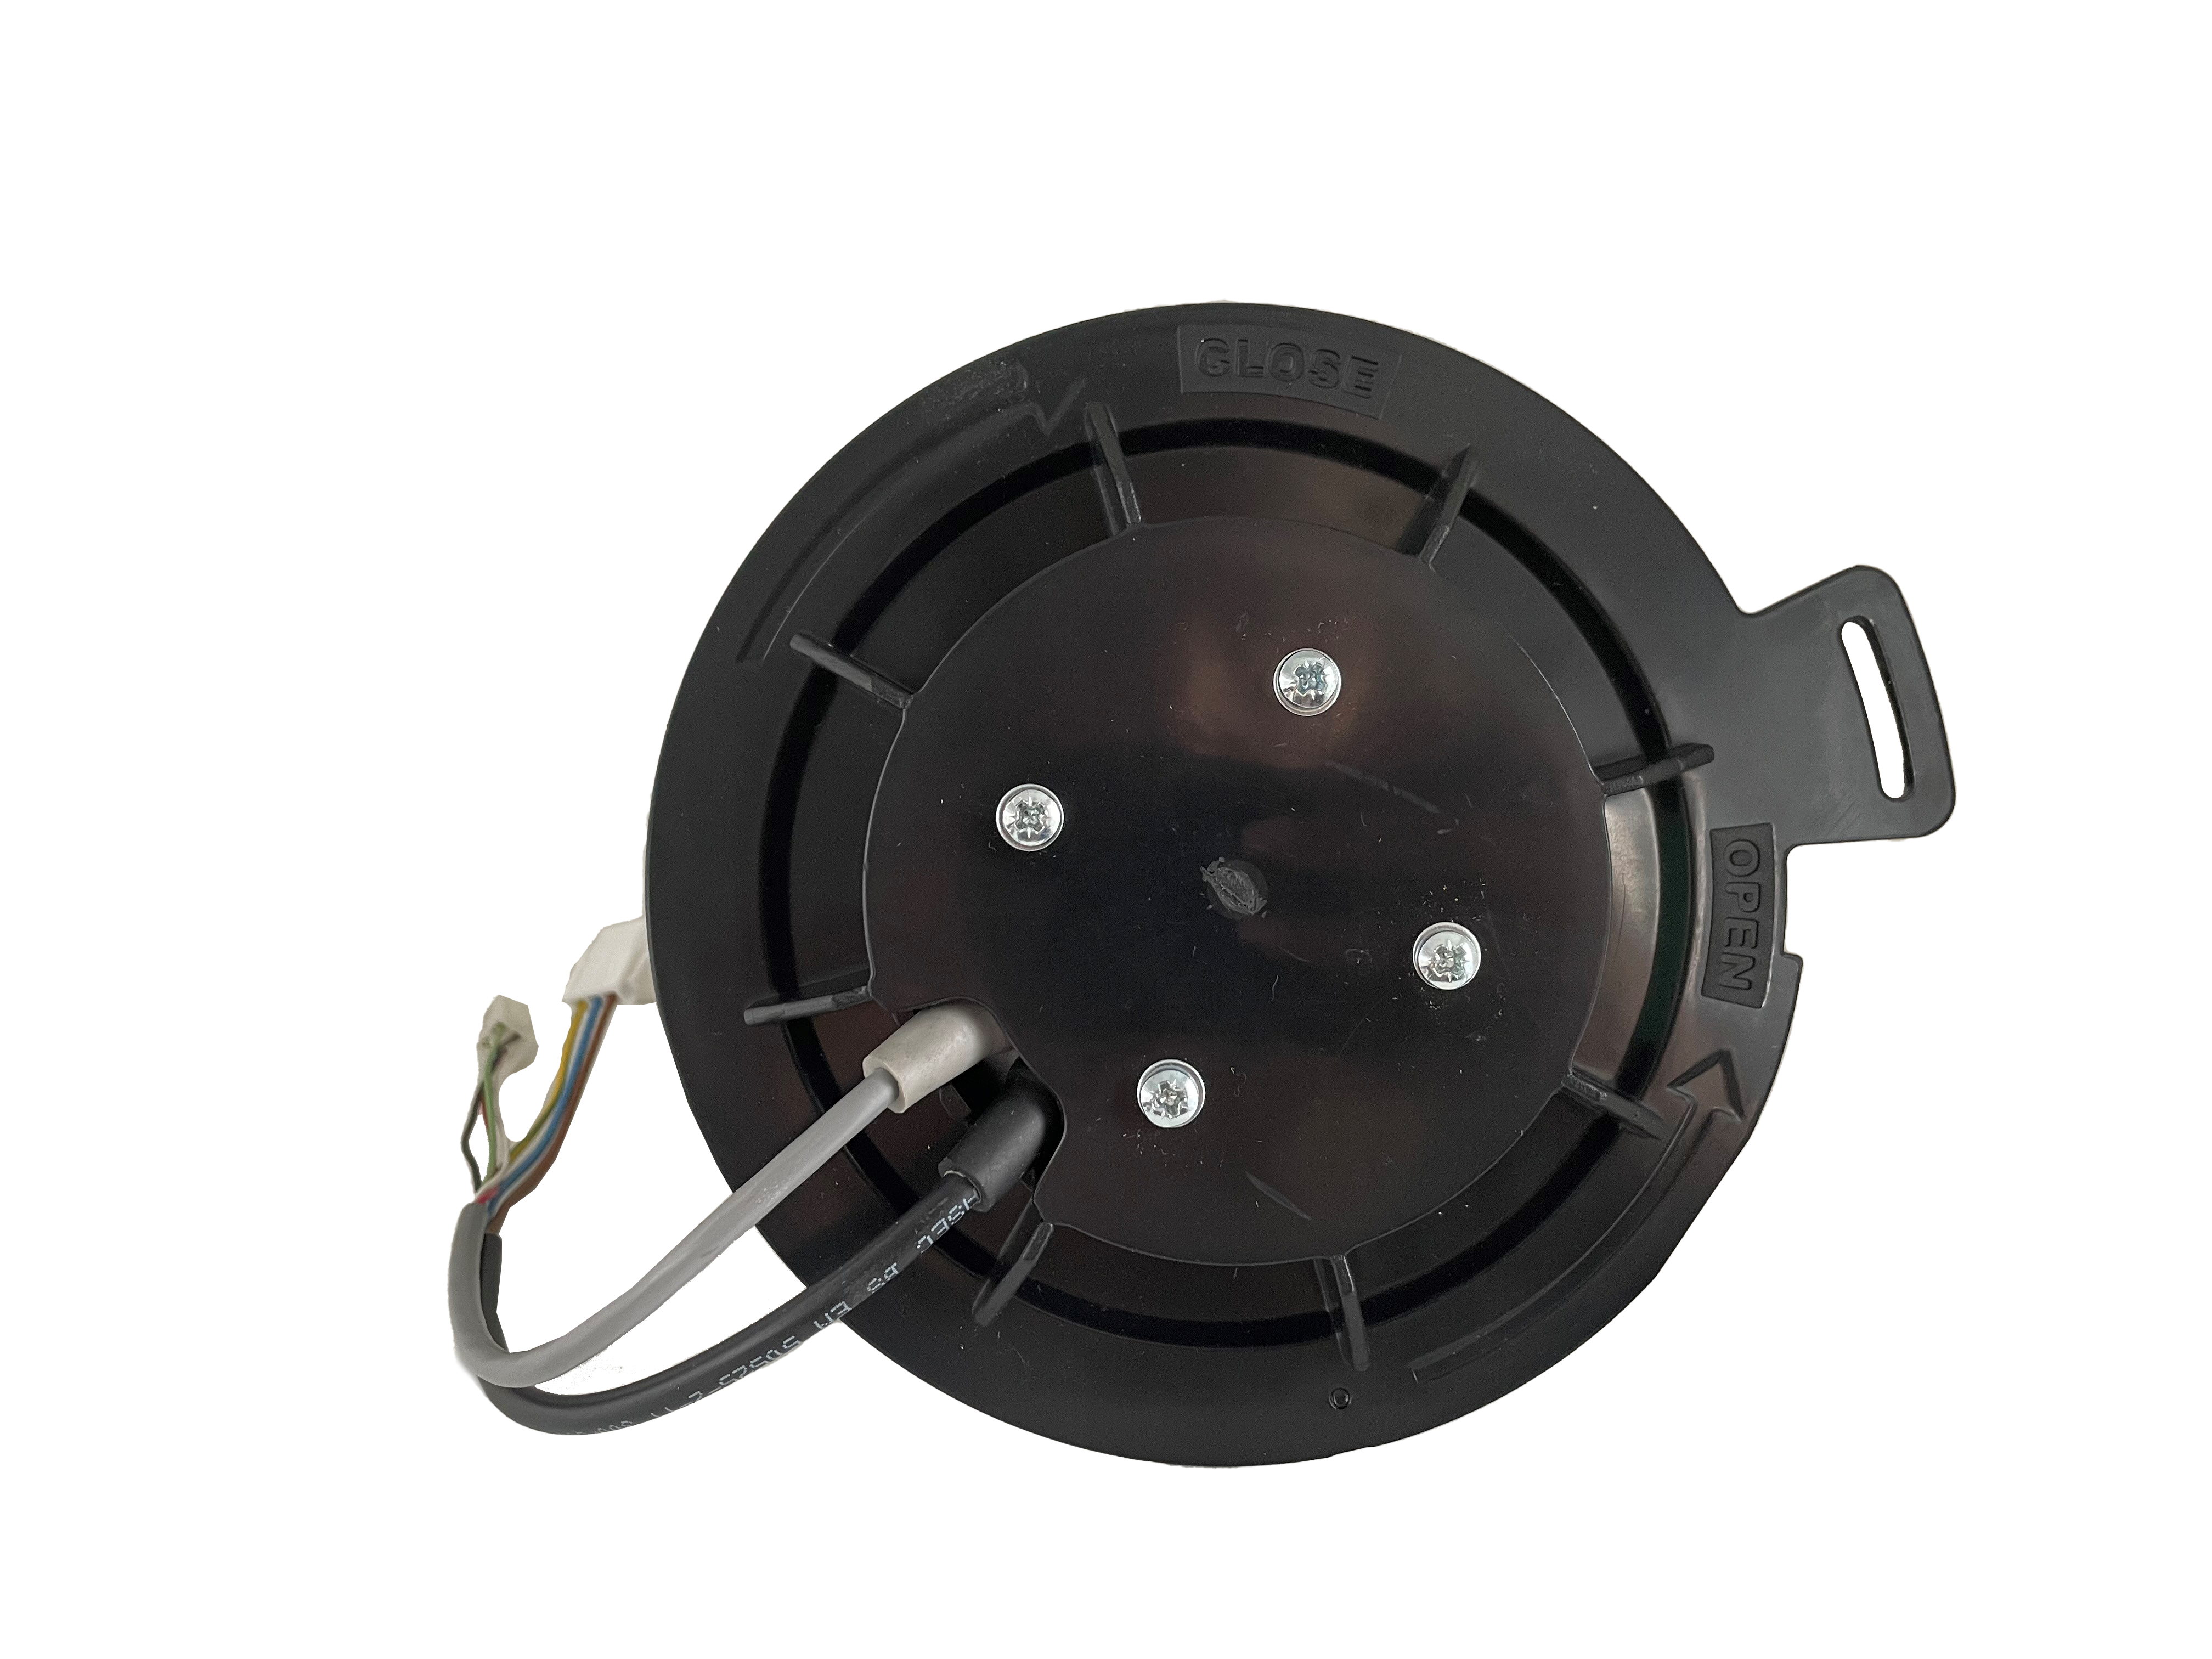
The Aircycle 1.3 heat recovery system has a very straight forward fan replacement process should the unlikely event of a failure. Product Code: AS 90-09-901
The Step Process:
Step 1. Isolate the unit from the mains and ensure all supply circuits are disconnected.
Step 2. Unscrew the front cover (4 No. screws) and remove the cover.
Step 3. Unplug the two leads from the fan.
Step 4. Unscrew the locking screw on the fan mount.
Step 5. Turn the fan mount anti-clockwise to the line marked on the fan case and then pull straight out.
Step 6. Place the new replacement component assembly in the case, lining it up with the line marked in the case. Push inward until flush with the front case and then turn clockwise to tighten.
Step 7. Refit the locking screw and connect the cables
Step 8. Re-fit the front cover and secure with the screws.
Step 9. Power the unit on at the isolator and ensure any supply circuits are reconnected. The unit will not need to be re-commissioned as the controller will hold the settings.
If you have any questions regarding this procedure, please get in contact with the office on 02890616505 or hello@brookvent.co.uk
https://staging.brookvent.co.uk/product/aircycle-1-3-house-ventilation-system/
£185.00 + VAT
Brookvent Aircycle 3.1/4.1 Front Panel Kit
Product Code: AS 90-09-810
Please indicate in the order notes which version you need (e.g. 3.1 or 4.1)
BUY NOW - Via Whatsapp
Brookvent Aircycle 3.1/4.1 Wall Bracket Kit
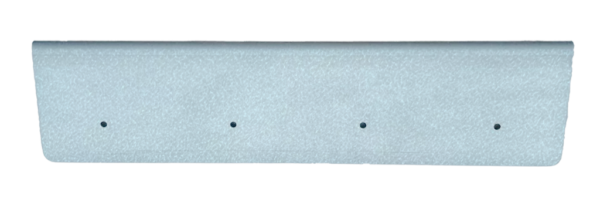
A Brookvent Aircycle 3.1/4.1 Replacement Wall Bracket Kit. Product Code: AS 90-09-806.
The unit should be attached the to the wall using the wall bracket provided, please ensure the mounting surface can safely bear the load of the unit using suitable screw fixings.
Step by Step Instructions for Wall Mount:
Remove the existing bracket which will be secured to the back of the unit and replace with new one.
The second bracket should be secured to the mounting surface (wall) Please ensure the brackets are level.
The unit can then be set onto the mounting surface with the lip of each bracket
Ensure the system is level when fully mounted.
Ensure the unit is fully attached and secure.
If you have any questions regarding this procedure, please get in contact with the office on 02890616505 or hello@brookvent.co.uk
https://staging.brookvent.co.uk/product/aircycle-3-1-house-ventilation-systems/
BUY NOW - Via Whatsapp
Brookvent Aircycle 3.1 Individual Fan Fit
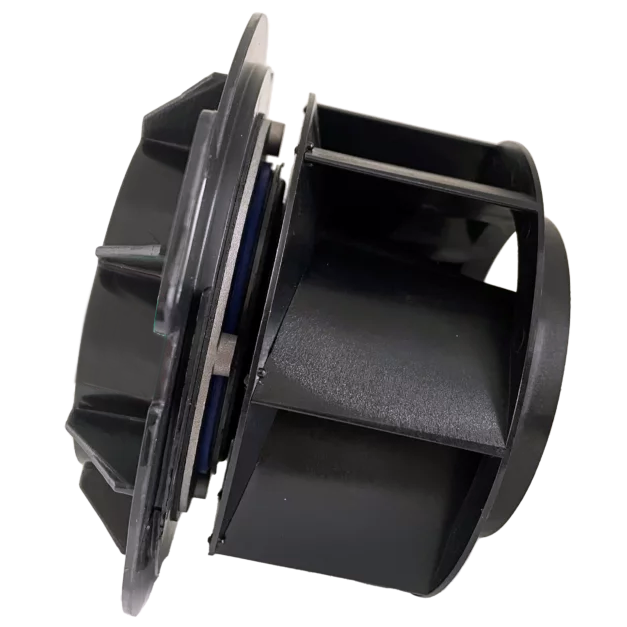
The aircycle 3.1 heat recovery system has a very straight forward fan replacement process should the unlikely event of a fan failure occur. Product Code: AS 90-09-800
Step by Step Process:
Step 1. Isolate the unit from the mains and ensure all supply circuits are disconnected.
Step 2. Unscrew the side plugs and remove.
Step 3. Remove the side panel.
Step 4. Unplug the two leads from the fan.
Step 5. Unscrew the scroll assembly from the casing and remove the scroll assembly. This Whole assembly should be returned to Brookvent.
Step 6. Place the new scroll assembly in the recess in the case and ensure the holes line up with the screw insert. Fix the scroll assembly to the case.
Step 7. Re-plug the connectors (they are two different types so they cannot be mixed up).
Step 8. Re-fit the end panel.
Step 9 fit the side plugs, (the long plug always fits in the centre hole), and screw to fix.
Step 10. Power the unit on at the isolator and ensure any supply circuits are reconnected. The unit will not need to be re-commissioned as the controller will hold the settings
If you have any questions regarding this procedure, please get in contact with the office on 02890616505 or hello@brookvent.co.uk
https://staging.brookvent.co.uk/product/aircycle-3-1-house-ventilation-systems/
BUY NOW - Via Whatsapp
Brookvent
Typically replies within minutes
Any questions related to Brookvent Aircycle 1.3/1.3+ Individual Fan Kit?
WhatsApp Us
🟢 Online | Privacy policy
Buy Now - via Whatsapp